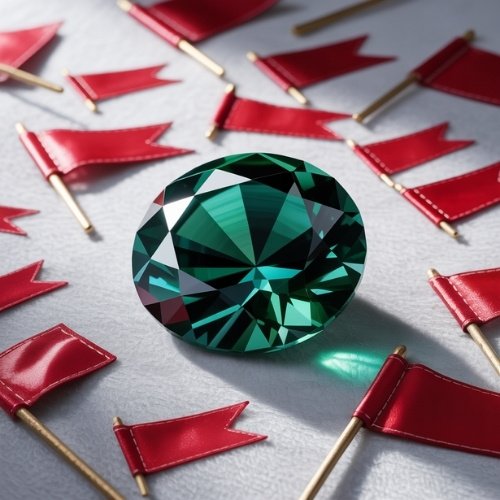
Ever looked at a gemstone and wondered what all the different bits are actually called? You’re not alone. Most people can tell the top from the bottom, but that’s about it. But lapidarists (gem cutters), gemologists, and increasingly jewellery shoppers, use a proper set of terms for every part of a cut stone, and once you know them, you’ll never look at a gem the same way again.
Let’s break it down from top to bottom.
Parts of a faceted gemstone
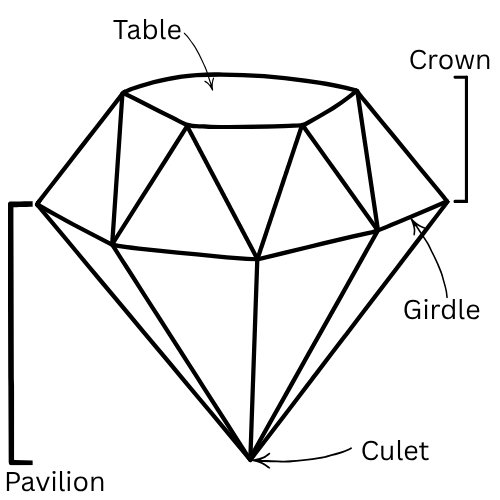
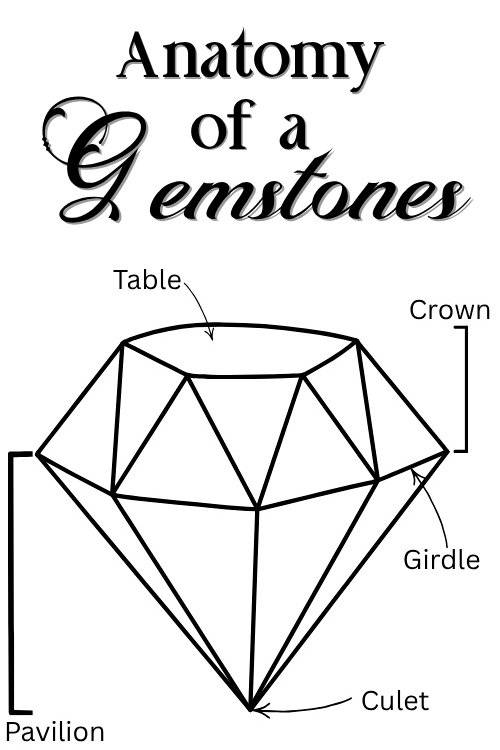
The Table
This is the big, flat facet right on top of the stone, the one you’ll usually look straight down into. It’s typically the largest single facet on the whole gem and it’s your main window into the stone’s colour and clarity. When someone talks about a stone looking “glassy” or “dead”, they’re usually talking about how the gem looks through its table.
The Crown
The crown is the whole upper section of the stone, everything above the widest point, table included. Depending on the cut style, the crown will be made up of a mix of smaller facets (often called bezel facets, star facets, or upper girdle facets, depending on the shape) arranged around the table.
The Girdle
The girdle is the narrow band running around the widest part of the stone, the bit that separates the crown from the pavilion. It’s easy to overlook because it’s often the least glamorous looking part, sometimes gem cutters don’t even bother to polish it, but it does an important job. It’s usually where the stone gets gripped by prongs or sits in a bezel setting, so its thickness genuinely matters. Too thin and it’s prone to chipping, too thick and you end up with unnecessary hidden weight (and cost) tucked away inside the mount where nobody can see it.
The Pavilion
Flip the stone over and you’re looking at the pavilion, the whole lower portion below the girdle. This is arguably the most important part of the entire cut, because the angles down here determine whether light bounces back up through the table to your eye, or leaks straight out the bottom. A poorly proportioned pavilion causes what’s called a “window”, a see-through patch where you can look straight through the stone to the setting underneath instead of getting sparkle.
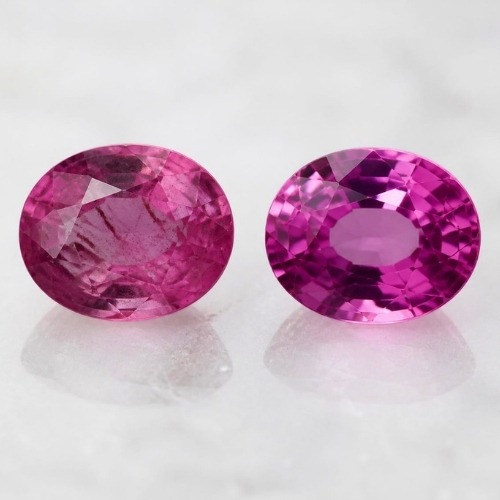
Elongated shapes like ovals, marquises and pears have their own particular pavilion pitfall too, the “bow tie” effect. This is a dark band crossing the centre of the stone where light isn’t bouncing back properly. A little bow tie is normal and even expected on these shapes, but a badly proportioned pavilion will turn it into a heavy, obvious black patch rather than a subtle bit of character.
The Culet (and the Keel)
Right at the very bottom tip of a round stone, you’ll either find a point or a tiny facet. This area is called the culet. Whether there is a point or a small flat area often depends on the lapidarist’s preference as there are arguments for either option. When there is a flat facet, its job is simply to protect the very bottom from chipping, since a sharp point is fragile. But a point will allow for maximum brilliance and saves on the time of cutting an extra facet.
Fancy shapes like marquise, pear, and oval don’t usually have a single point, they have a line instead. That line is called the keel and is named after the bottom of a boat.
Different Cuts, Same Basic Blueprint
Here’s the thing that often surprises people. Whether you’re looking at a round brilliant with fifty-odd facets or a simple step cut emerald shape with just a handful of long rectangular ones, the basic anatomy stays the same. Table, crown, girdle, pavilion, culet or keel, they’re all still there. What changes between cut styles is the number, shape, and arrangement of the facets within each of those sections, which is what gives each cut its own particular personality.
What About Cabochons?
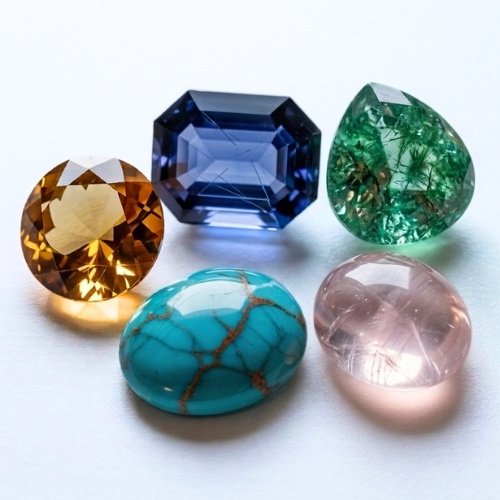
Good question, and one that trips a lot of people up. Cabochons don’t have facets, so they don’t have all the same part names, but there is a little bit of an overlap. The rounded top surface is usually called the dome (but it might sometimes be referred to as the crown), and the flat underside is the base. The girdle term is the main one that carries over between the two cut styles. A cabochons girdle is basically the same as a faceted stones girdle, it’s the widest point where the dome meets the base.
Why Cutting a Stone Is a Balancing Act
Cutting a gemstone well is genuinely a bit of a juggling act. A cutter is usually trying to balance three things at once:
- Weight retention. More carats generally means more money, and nobody wants to throw away good material unnecessarily.
- Optimum proportions for colour and sparkle. A stone cut purely to maximise weight often ends up too deep or too shallow, leading to that dead “window” look we mentioned earlier. It can also affect the gem’s colour, a darker stone that’s cut deep can end up looking very dark, and a pale stone that’s cut shallow can look washed out.
- Inclusions. When planning the cut, it’s important to consider the rough stone’s inclusions. Where possible they should be either cut away or disguised, such as having the crown facets sit over the inclusions instead of leaving them right in the middle of the table.
Sometimes these goals pull in completely different directions. A cutter might sacrifice a bit of weight to shift an inclusion out of sight, or accept slightly less-than-ideal proportions to save an otherwise gorgeous colour zone. It’s part science, part art, and is why a well-cut stone commands so much more respect (and price).
Next time you’re peering into a gem, have a little look for the table, spot the girdle, and see if you can work out whether it’s got a culet or a keel tucked away at the bottom. It’s a small thing, but it makes browsing gemstones a little bit more fun.
🛍️ Looking for some sustainable, pre-owned gemstones in both facet and cabochon cuts? Have a browse of our shop
📌 Don’t forget to save this guide to the anatomy of a gemstone so you can refer back to it later on.